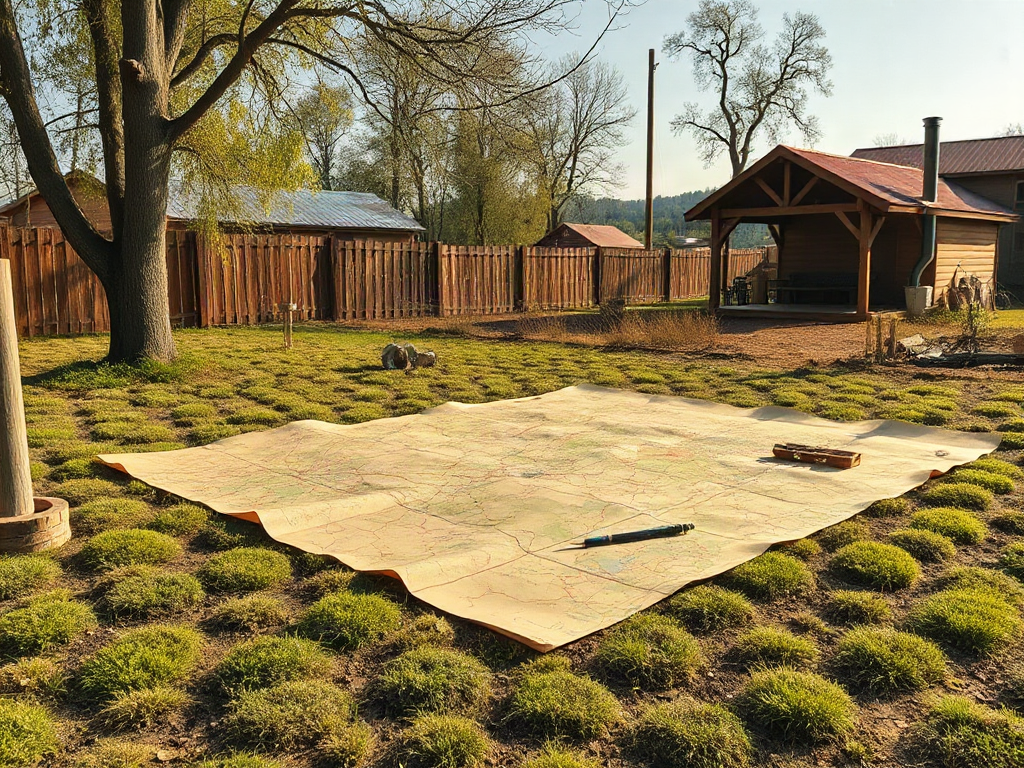
Build an Accurate Base Map
A useful property map begins with features that are unlikely to move: parcel boundaries, roads, buildings, wells, major fences, utility corridors, ponds, and recognizable landmarks. These anchors establish scale and orientation for every later observation. A satellite screenshot may be convenient, but it is not automatically a legal boundary map or a sufficiently precise base for locating a new building.
Collect the best records available for the property. A recorded survey, deed description, county parcel viewer, topographic map, and recent aerial image may each contribute different information. Parcel viewers are valuable for general orientation, yet their boundary lines can be offset from visible fences or roads. If a proposed barn, driveway, septic component, or pond could approach a property line, easement, or setback, use a qualified surveyor and the relevant local authority rather than estimating from an online layer.
Choose a scale that keeps the full parcel readable while leaving enough room for notes. Small acreage may fit on one detailed sheet; a larger or irregular tract often benefits from a whole-property map plus enlarged maps of the homesite, garden area, and working yard. Include a north arrow, scale bar, date, source notes, and a legend. Recording the date matters because fences, vegetation, drainage routes, and structures change.
A practical base can be digital, printed, or both. Digital mapping makes measurements and revisions easier, while a large paper copy is often faster during a field walk. Transparent sheets placed over the base provide a low-cost way to compare alternate layouts without erasing earlier observations. Readers developing their first Creating a property map for homestead planning draft should favor clear, revisable layers over elaborate software they cannot update confidently.
The common failure at this stage is false precision. A crisp line on a screen can look authoritative even when it came from approximate public data. Label uncertain features as approximate, identify the source of each important line, and reserve construction-level decisions for verified measurements.
Map the Conditions That Control Land Use
Separate site conditions into layers so one crowded drawing does not conceal important relationships. Terrain, water movement, sunlight, soil, wind exposure, vegetation, access, utilities, and legal constraints influence different decisions, but they interact. A sunny garden location may still be unsuitable if cold air settles there or roof runoff crosses it after storms.
Start with contours and slope direction. Closely spaced contour lines indicate steeper ground, while broad spacing indicates gentler terrain. Mark ridges, low points, benches, abrupt grade changes, and areas that are difficult to mow or drive across. Slope affects erosion, equipment access, building cost, water movement, and the effort required to carry materials. A short route that climbs sharply may be less practical than a longer route following moderate ground.
Water deserves its own layer. Show streams, ponds, springs, ditches, culverts, roof discharge, wet patches, flood-prone ground, and visible runoff channels. Distinguish permanent water from features seen only after rain or snowmelt. Do not assume a dry midsummer hollow is safe for a structure; flattened vegetation, sediment deposits, exposed roots, and debris caught against a fence can reveal intermittent flow.
Map sunlight by season rather than labeling a location simply sunny or shaded. Trees and buildings cast much longer shadows when the sun is low, and deciduous woodland changes after leaf-out. Mark morning and afternoon exposure separately where crops, solar equipment, livestock shelter, or drying yards are being considered. Soil observations should identify texture, depth, stones, compaction, drainage, and obvious disturbance. Formal soil surveys can provide useful context, but a broad mapped soil unit may contain meaningful variation on the ground.
Finish with existing infrastructure and constraints: electric service, water lines, septic areas, gates, lanes, overhead wires, easements, neighboring uses, and likely setbacks. Call the appropriate utility-locating service before excavation, and confirm private lines that public marking may not cover. The goal is not to produce the most detailed map possible; it is to reveal conditions capable of changing a placement decision. If a layer will not affect access, safety, maintenance, production, or cost, it may not deserve equal visual weight.
Verify the Map With Field Observations
Field checking turns a desktop map into a record of how the property actually behaves. Walk the land with a printed base map, pencil, compass or phone, measuring tape or distance tool, and a camera. Number photographs and place matching numbers on the map so images remain tied to specific locations. GPS readings from ordinary devices are useful for orientation, but they should not be treated as survey-grade evidence.
Observe the property under contrasting conditions. A fair-weather visit shows access, vegetation, and general form; a visit during or soon after substantial rain reveals runoff, standing water, muddy approaches, and overwhelmed culverts. Early morning can expose frost pockets and shade that disappear later. Winter observation may reveal landform and drainage hidden by summer growth. Where year-round monitoring is impossible, ask long-term occupants or nearby landowners focused questions, then mark their reports separately from personally verified observations.
Use a repeatable field checklist rather than wandering without a recording method:
- Confirm: gates, fence corners, structures, road edges, wells, visible utilities, and major trees.
- Trace: drainage paths, steep breaks, erosion, wet ground, and difficult equipment turns.
- Record: shade times, prevailing exposure, noise, odors, views, and neighboring activity.
- Flag uncertainty: unverified boundaries, buried private lines, seasonal springs, and inaccessible areas.
Consider a sloping field below a proposed poultry shelter. A contour map may show manageable grade, while a storm walk reveals concentrated runoff entering through the planned doorway. Moving the shelter a short distance onto a subtle shoulder could reduce mud and bedding problems without requiring major drainage work. That small correction is difficult to see from aerial imagery alone.
Signs the map is improving include repeatable observations, clear distinctions between confirmed and approximate features, and fewer unexplained blank areas. Warning signs include notes with no dates, drainage inferred only from contours, or proposed uses drawn before access and utilities have been checked. Update the working copy after each walk rather than trusting loose notes to be reconciled later.
Turn Site Layers Into a Workable Layout
Layout decisions should follow the property’s constraints and daily operating patterns rather than a visually tidy arrangement. Begin by identifying areas that should remain undeveloped: active drainage routes, unstable or very steep slopes, required clearances, utility access corridors, septic reserve areas, and uncertain boundary margins. Removing poor choices first makes the remaining options easier to compare.
Next, group activities by frequency, compatibility, and resource demand. A kitchen garden, tool storage, compost area, and wash station often benefit from short routes and nearby water. An orchard can usually tolerate less frequent access but still needs suitable soil, sunlight, mowing room, and harvest access. Livestock housing requires convenient feed delivery, all-weather entry, manure handling, water, ventilation, and enough separation from household spaces to manage noise and odor.
Trace movement as actual routes, not straight lines between symbols. Test whether a delivery vehicle can enter, turn, unload, and leave without crossing garden beds or compacting wet ground. Show walking routes used in darkness or winter weather. A remote pasture may look efficient on an acreage map, yet become burdensome if every frozen morning requires hauling water down a steep path. Distance should therefore be judged by time, grade, surface, and load rather than feet alone.
Compare at least two layouts. One version might place production areas close together to shorten chores; another might spread them across the best soils and exposure. The compact version reduces travel and pipe length but may concentrate mud, odors, or vehicle conflicts. The dispersed version may use the land more effectively while increasing fencing, water distribution, and maintenance demands. The best choice is usually the arrangement whose recurring workload remains manageable, not the one with the largest theoretical capacity.
Draw reserved corridors for future water, power, fencing, and vehicle access before filling open space. Readers refining Creating a property map for homestead planning layouts should also keep flexible land near the homesite. Using every convenient square foot immediately can block later repairs, additions, or access to buried infrastructure.
Test the Layout Before Committing
A mapped layout becomes more reliable when temporary trials precede permanent construction. Mark proposed building corners with stakes, outline beds with string, park a vehicle where a shed might stand, and walk planned routes while carrying the loads those routes must support. Physical mockups expose cramped turns, blocked sightlines, awkward grades, and shade that a scaled symbol can disguise.
Test decisions through at least one relevant season when the cost of waiting is lower than the cost of relocation. Temporary fencing can evaluate livestock flow. Movable bins can test compost access. A trial growing bed can reveal whether a sunny patch is actually compacted, drought-prone, or crossed by runoff. Not every project needs a full year of observation, but permanent earthworks, access roads, ponds, and buildings warrant more evidence than movable garden features.
Assign each mapped feature a confidence level. Confirmed features include surveyed corners, measured structures, and observed utility components. Probable features may include a drainage line seen once or a private pipe route reported by a former owner. Conceptual features are proposed beds, lanes, shelters, or water points. This distinction prevents an appealing draft from being mistaken for verified site documentation.
Review the plan against four practical tests: can people and vehicles reach it in poor weather; can water move without damaging it; can utilities serve it without excessive trenching or pumping; and can routine work be completed with available time and equipment? Failure in one category does not automatically reject a location, but it identifies a cost or operating burden that must be accepted deliberately.
Maintain the map as a property record after work begins. Add pipe sizes, wire routes, valve locations, installation dates, tree varieties, fence changes, and photographs taken before trenches are covered. Keep an untouched master and create dated revisions. A successful map becomes easier to use over time; a failing one accumulates unexplained marks, obsolete proposals, and permanent features that were never recorded.
Frequently Asked Questions
What should be shown on a homestead property map?
Show boundaries, contours, water movement, roads, buildings, utilities, wells, septic areas, soil differences, sunlight, vegetation, fences, easements, and proposed uses. Mark whether each feature is confirmed, approximate, or conceptual.
Can I make a useful property map without specialized software?
Yes. Print a reliable base image and use tracing paper or transparent sheets for separate layers. Digital tools improve measurement and revision, but careful field verification matters more than sophisticated presentation.
How accurate are online parcel boundaries?
They are generally suitable for orientation, not for establishing legal corners or placing improvements near a boundary. Use recorded documents and a qualified surveyor when boundary accuracy affects construction, access, or compliance.
When is the best time to walk the property?
Walk it in several conditions, especially after heavy rain, during low winter sun, and after vegetation leafs out. These visits reveal drainage, seasonal shade, access problems, and landforms that a single dry-day inspection can miss.
Should proposed buildings or gardens be added immediately?
Add them as a separate conceptual layer only after mapping constraints and resources. Compare alternatives, mark the locations on the ground, and verify boundaries, utilities, access, drainage, and applicable approvals before committing.
Conclusion
A dependable property map is a living decision record, not a decorative aerial image. Establish the parcel and existing infrastructure first, then document terrain, runoff, seasonal light, soil, access, and operating constraints on separate layers. Field observations should challenge desktop assumptions, especially around wet ground, steep routes, buried services, and apparent boundaries.
Use those layers to compare layouts by recurring labor, vehicle movement, water behavior, utility cost, and room for future changes. Mark uncertain information plainly and test proposed locations with stakes, temporary fencing, trial beds, or parked equipment whenever relocation would later be expensive. The next practical step is to print or assemble a scaled base, complete one systematic property walk, and create a dated constraint layer before drawing permanent projects.