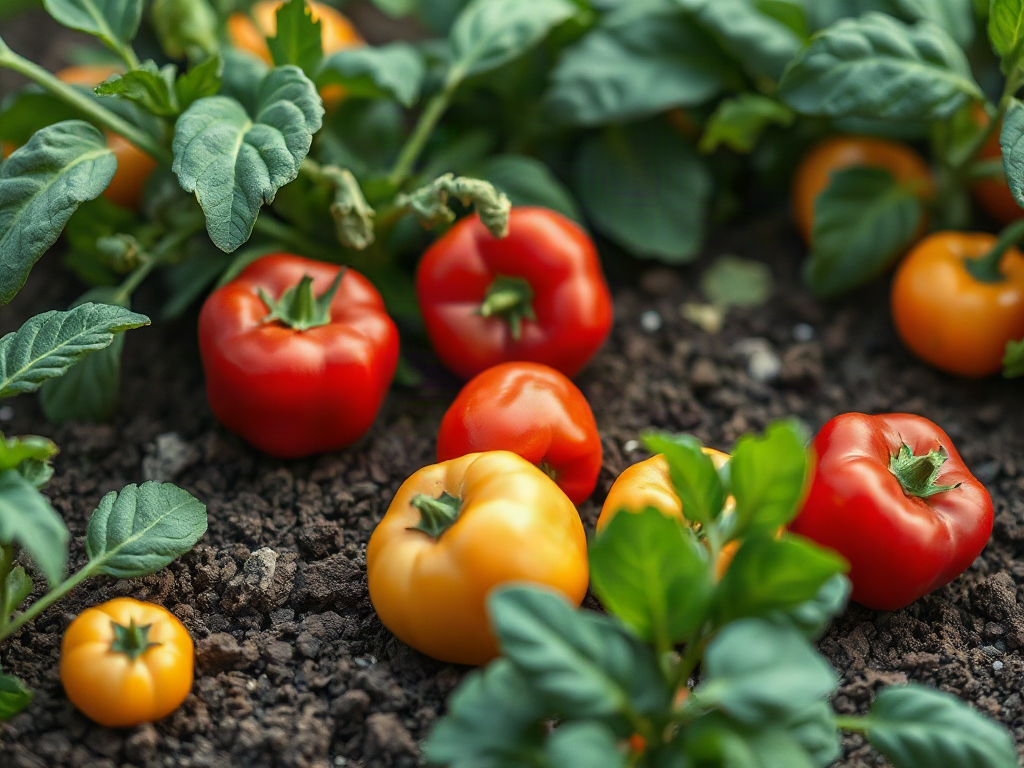
Plant vegetables by counting backward or forward from your local average last spring frost date, then space each crop according to its mature width rather than seed size. Cool-season crops such as peas, spinach, and radishes often tolerate planting 2–6 weeks before that date, while tomatoes, peppers, beans, and squash should wait until frost danger has passed and the soil has warmed. Use regional frost records for planning, but adjust for current forecasts, garden microclimates, and variety-specific seed-packet directions. Proper timing protects tender growth, while adequate spacing improves light exposure, airflow, root access, and the room available for harvesting.
How Do Frost Dates Control Planting Time?
A frost date is a planning benchmark, not a promise about the weather. The average last spring frost marks the approximate point after which freezing temperatures become less likely, while the average first fall frost helps estimate the end of the tender-crop season. Gardeners use both dates to judge when seeds can go outside and whether a crop has enough time to mature.
Begin with frost information for a nearby location, then account for the conditions in the actual garden. A low spot where cold air settles may freeze after a raised bed beside a south-facing wall. Exposed rural ground can also behave differently from a sheltered urban yard. If nearby weather stations differ, choose the station with elevation and terrain most similar to the planting site rather than automatically choosing the closest one.
The current forecast matters more than the calendar once planting week arrives. A tomato transplant set out on the average last frost date can still be damaged by a late cold night. Conversely, waiting several extra weeks without checking conditions may shorten the productive season unnecessarily. Watch nighttime forecasts, daytime warmth, wind, and soil condition. Saturated, cold soil can delay germination and encourage seed decay even when the air remains above freezing.
Seed packets express planting time in useful relationships such as “four weeks before last frost” or “after danger of frost.” Count backward or forward from the local date and write the resulting window on a calendar. For example, with an average last frost of May 10, a crop listed for planting two to four weeks beforehand has a tentative outdoor window of April 12–26. Recheck the forecast before using those dates.
Do not confuse the last frost date with the first workable-soil date. Early peas or radishes may tolerate cold air, but seeds cannot establish well in soil that is frozen, waterlogged, or compressed into sticky clods. A simple field check is to squeeze a handful of soil: if it smears or holds as a dense wet lump, postpone digging. If it breaks apart with gentle pressure, the bed is less likely to be damaged by cultivation.
The common mistake is treating an average date as a safety guarantee. Keep row cover, frost cloth, or another breathable crop covering available for unexpected cold, but avoid placing plastic directly against foliage. Protection can moderate a brief temperature dip; it does not turn a warm-season crop into a cold-tolerant one. When a hard freeze is forecast, delaying transplanting is usually the safer option.
Which Vegetables Go Before or After the Last Frost?
Vegetables fall into practical cool-season and warm-season groups based on how their seeds and growing tissues respond to cold. Cool-season vegetables can germinate or grow in relatively cool conditions, and some tolerate light frost. Warm-season vegetables are more vulnerable to freezing and often stall when planted into cold soil, even if frost never occurs.
Peas, spinach, radishes, carrots, lettuce, kale, broccoli, and cabbage are commonly planted before or near the last spring frost, subject to variety instructions and local conditions. Broccoli, cabbage, and kale are often transplanted, whereas peas and root crops are usually direct-sown. Root vegetables generally respond poorly to transplanting because disturbing the developing root can produce forked or misshapen harvests.
Beans, cucumbers, squash, tomatoes, peppers, eggplants, and melons belong on the warm side of the schedule. Frost sensitivity is only part of the decision. Beans and cucumbers may germinate unevenly in cold ground, and pepper growth can remain sluggish after premature planting. Tomatoes and peppers are usually started indoors or purchased as transplants because their growing season is longer than that of quick direct-sown crops.
| Crop group | Typical timing relative to last frost | Typical in-row spacing | Planning note |
|---|---|---|---|
| Radishes and spinach | About 4–6 weeks before | 2–6 inches, depending on crop | Direct-sow; thin promptly |
| Peas | About 4–6 weeks before | 2–3 inches | Provide support for climbing types |
| Broccoli and cabbage | About 2–4 weeks before | 12–24 inches | Transplant timing varies by hardening and variety |
| Tomatoes and peppers | After frost danger passes | 18–36 inches | Final distance depends on variety and support |
| Bush beans | After frost, in warmed soil | 3–6 inches | Direct-sow rather than transplant |
| Cucumbers and squash | After frost, in warmed soil | 12–48 inches | Vining habit greatly changes space needs |
These ranges are planning estimates, not substitutes for the packet. A compact patio tomato and a vigorous indeterminate tomato do not occupy the same area. Bush cucumbers may fit a small bed, while long-vined types can cross paths and shade neighboring rows. Variety name and growth habit should therefore override a generic chart.
Indoor seedlings need a transition called hardening off before permanent outdoor planting. Over roughly a week, expose them gradually to outdoor light, wind, and temperature changes, starting in a protected location and increasing exposure. Seedlings moved straight from stable indoor conditions into full sun can suffer leaf scorch or severe wilting even on a frost-free day.
A frequent failure is planting every vegetable on the same weekend for convenience. A better sequence puts cold-tolerant direct-sown crops first, hardened cool-season transplants next, and tender crops after conditions settle. That schedule reduces weather risk and spreads sowing, transplanting, watering, and harvesting work across several weeks.
How Much Space Do Vegetables Need?
Vegetable spacing should reflect the plant’s mature canopy, root competition, support system, and harvest method. Tiny seeds do not indicate tiny mature plants. A squash seed is easy to place neatly, but the resulting vine may cover several feet; a cabbage transplant that looks lost in an empty bed can eventually fill a broad circle.
Seed packets usually give two measurements: distance between plants and distance between rows. The plant distance governs competition within a row. Wider row spacing creates walking and harvesting access, especially in traditional tilled gardens. In a raised bed that can be reached from both sides, separate walking rows may be unnecessary, but plants still need enough room for mature leaves and airflow.
Use the packet’s final plant spacing to mark transplant positions or guide thinning. If carrots are sown thickly but need two inches between roots, remove extras before the roots crowd each other. Delayed thinning produces small, twisted, or uneven roots. Cut unwanted seedlings at soil level when pulling them might disturb the roots being kept.
Spacing also changes with training. An indeterminate tomato grown upright in a strong cage or on a trellis generally occupies less ground than one allowed to sprawl, although its roots and foliage still need room. Trellised cucumbers use vertical space and can leave bed area available for a low crop, but the trellis must be positioned so it does not shade sun-loving neighbors. Place tall supports toward the side of the garden that creates the least harmful shade.
Crowding can initially look productive because more seedlings fit into the bed. Later, overlapping leaves reduce light within the canopy, complicate watering and harvesting, and slow leaf drying after rain. Wider spacing uses more land but makes individual plants easier to inspect. The sensible compromise is the recommended range for the named variety, adjusted modestly for pruning, trellising, soil fertility, and access—not an arbitrary attempt to fit twice as many plants.
Measure before planting rather than estimating by eye. A tape measure, marked board, or string with knots provides repeatable positions. For staggered bed planting, place plants in offset rows so each one sits between the plants in the neighboring row. This arrangement uses bed area efficiently, but preserve a reachable edge; stepping into cultivated soil compresses pore spaces and can damage roots.
Signs that spacing is working include foliage that receives light, leaves that dry after watering, and clear access for harvesting. Warning signs include plants leaning away from neighbors, persistent dampness inside the canopy, hidden fruit, and leaves covering paths. Moving established plants is difficult, so correct crowding early by thinning annual seedlings and directing vines onto supports.
Build a Frost-Date and Spacing Plan
A useful planting plan combines one local frost baseline, crop-specific timing, and the physical dimensions of the bed. Planning either timing or spacing alone creates predictable problems: correctly timed seedlings may have nowhere to grow, while a beautifully measured bed may remain empty because the crop was scheduled for the wrong temperature window.
Start by measuring only plantable space, excluding paths, compost bins, bed frames, and shaded corners unsuitable for sun-loving crops. Record bed length and width. Then list the vegetables by variety, because growth habit and days to maturity can differ within the same crop. Use the packet or supplier description to note sowing method, frost-date timing, final spacing, and whether support is required.
- Find the planning dates. Record the average last spring frost and first fall frost for a representative nearby location.
- Sort crops by temperature group. Separate early cool-season sowings from frost-tender transplants and warm-soil direct sowings.
- Convert relative timing into dates. Count the stated number of weeks before or after the spring frost benchmark.
- Draw plants at final size. Mark mature spacing on a simple bed sketch instead of drawing seed rows without scale.
- Reserve vertical and harvest space. Place trellises, cages, and access routes before filling remaining gaps.
- Review conditions before planting. Check the short-term forecast, soil moisture, and seedling hardiness rather than following the paper schedule blindly.
Consider a 4-by-8-foot raised bed planned for spring lettuce, peas, and later tomatoes. Peas can occupy a trellis along one edge early in the season. Lettuce may grow in accessible patches while temperatures remain cool. Tomatoes need marked positions based on their variety and cage size; they should not simply be inserted into every gap once the lettuce is harvested. The mature tomato canopy, not the temporarily open soil, determines capacity.
Succession planting can improve use of limited space, but it requires realistic turnover dates. Radishes may finish before a warm-season transplant needs the bed. Broccoli, however, can remain much longer than a calendar estimate if cool weather slows growth. Build a buffer between crops and have an alternate location or container available rather than pulling a productive plant solely because the next planting date arrived.
Track actual sowing dates, germination, frost events, and harvest timing. A regional average cannot capture every sheltered corner or cold pocket, while one season cannot define the site permanently. After several plantings, notes reveal whether a bed warms early, stays wet, or receives late-season shade. Use that record to refine future dates without assuming last year’s unusual weather will repeat.
The weakest plans maximize plant count instead of manageable harvest. Beginners usually gain more from fewer well-spaced crops that can be watered, supported, and picked on time. If the sketch is crowded, remove the least-valued crop or choose a compact variety. Do not erase paths, reduce every spacing interval, or rely on aggressive pruning to rescue an unrealistic layout.
Conclusion
A workable vegetable calendar begins with regional frost averages but remains flexible enough for forecasts, wet soil, cold pockets, and differences among varieties. Sort crops into cool- and warm-season groups, translate packet directions into actual calendar windows, and harden transplants before they face full outdoor exposure.
On the layout, use mature plant dimensions rather than the amount of bare ground visible on planting day. Preserve access, install supports early, and thin direct-sown seedlings before competition affects their shape or vigor. The best next step is to measure the available bed, choose a modest crop list, and record each variety’s timing and spacing on one page. That simple plan is easier to adjust—and more useful—than a crowded schedule built around a single frost date.
Frequently Asked Questions
Where can I find my local last frost date?
Use a frost-date tool based on a nearby weather station or consult a regional extension office. Compare the station’s elevation and terrain with your garden, because local cold pockets can shift the practical planting window.
Can I plant vegetables on the average last frost date?
Cool-tolerant vegetables may already be growing by then, but tender crops still face some risk. Check the forecast and soil conditions, harden off transplants, and delay warm-season planting if freezing nights remain possible.
Should spacing be measured from stems or leaf edges?
Measure recommended plant spacing from the center or stem of one plant to the center or stem of the next. The listed distance anticipates that mature leaves will expand into the intervening area.
Can vegetables be planted closer together in raised beds?
Rows may be closer when separate walking aisles are unnecessary, but the final plant-to-plant requirement still applies. Use staggered positions and trellises rather than compressing every crop below its variety-specific spacing.
What should I do if seedlings were planted too close together?
Thin small seedlings early, keeping the strongest plants at the recommended interval. Cut extras at soil level when pulling could disturb neighboring roots, and redirect suitable vining crops onto sturdy supports.
Further Reading
Authoritative Sources
- USDA Plant Hardiness Zone Map
planthardiness.ars.usda.govUse this map to understand regional winter temperature patterns, while recognizing that hardiness zones are not the same as local frost dates
- National Weather Service
weather.govLocal forecasts and freeze alerts help gardeners adjust a planned planting date when near-term conditions differ from seasonal averages
- NC State Extension Gardener
extensiongardener.ces.ncsu.eduThis university extension resource provides research-based vegetable gardening information, including planting and crop-management guidance
- Planting the Vegetable Garden
extension.umn.eduUniversity of Minnesota Extension explains garden placement, planting methods, and practical considerations for establishing vegetable crops