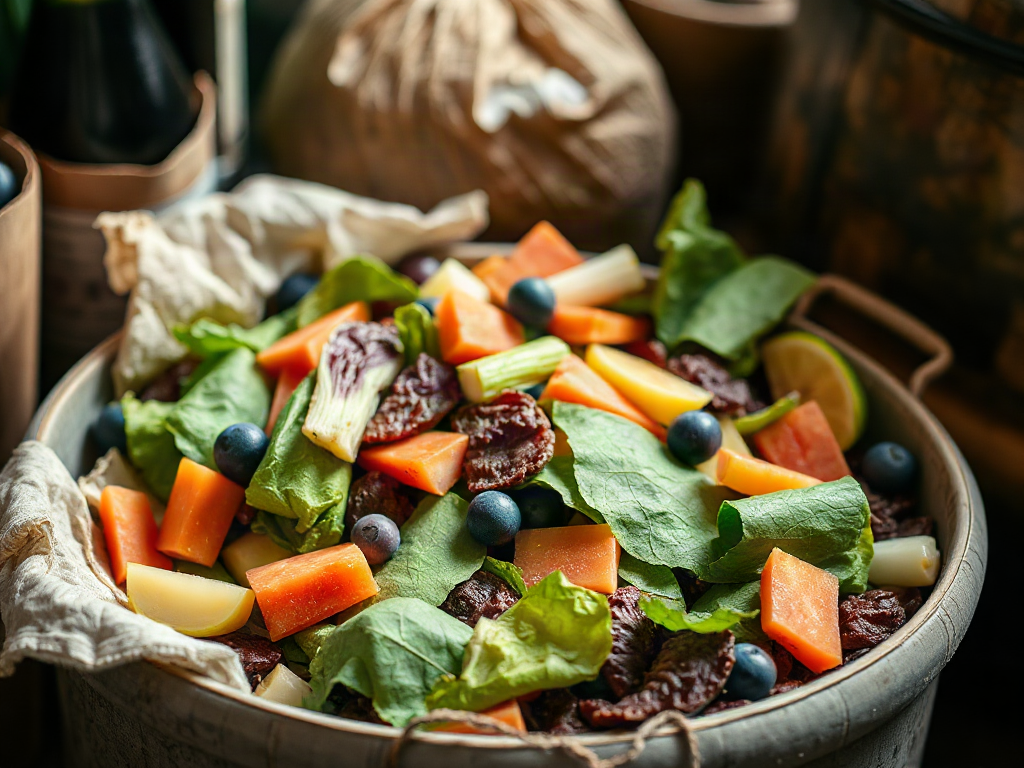
Using kitchen scraps safely in beginner compost means adding plant-based leftovers in small pieces, covering each fresh deposit with dry carbon material, and keeping meat, dairy, oils, pet waste, and diseased plant material out of a basic home pile. Fruit and vegetable trimmings, coffee grounds, tea leaves without plastic, and crushed eggshells are practical starter inputs, while excess moisture and large servings of one ingredient commonly cause odors or pests. Bury scraps in the center, maintain a damp-but-not-soggy texture, and turn the pile when it becomes compact or smells sour. A balanced mixture decomposes more reliably than a pile fed mostly with wet food waste.
Choose Kitchen Scraps That Suit a Starter Pile
Kitchen scraps are useful compost ingredients when their moisture, texture, and contamination risk fit the type of pile being managed. A beginner setup can usually handle fruit and vegetable peels, leafy trimmings, wilted produce, coffee grounds, unbleached paper filters, loose tea leaves, and small amounts of crushed eggshell. These materials break down readily because they contain water and relatively soft plant tissue. Chopping thick stems, melon rinds, citrus peels, and large vegetable pieces into smaller portions exposes more surface area to decomposing organisms.
The safest rule for a simple backyard pile is to treat it as a plant-material system rather than a general waste bin. Meat, fish, bones, dairy products, grease, cooking oil, and heavily sauced leftovers can attract flies, rodents, raccoons, or other animals. They also decompose in ways that are harder for a small, cool pile to manage. Pet feces and litter should stay out because pathogens and medication residues may remain in the finished material. Diseased plant parts are another poor choice if the pile will not reach and maintain reliably hot conditions.
Some foods sit between useful and troublesome. Bread, plain cooked grains, and small amounts of unseasoned pasta may compost, but they become dense and moldy when added in a thick layer. Onion skins, garlic skins, and citrus rinds are not automatically forbidden; they simply break down more slowly when whole and can dominate a small deposit. Composting them in modest quantities alongside varied plant scraps is more practical than dumping a full bowl of one type into the pile.
A countertop collection container makes sorting easier, but it should be emptied often. A sealed container prevents short-term odors yet can become wet and anaerobic if scraps sit for many days. An open or vented container needs a washable liner and regular cleaning. If a household produces more scraps than the pile can absorb, freezing excess scraps in a lidded container is often cleaner than continually adding large wet deposits. For readers comparing household routines, Using kitchen scraps safely in beginner compost depends as much on storage and portion control as on the ingredient list.
Balance Wet Scraps With Dry Carbon Materials
Fresh kitchen scraps supply moisture and nitrogen, while dry leaves, shredded plain cardboard, straw, and untreated sawdust contribute carbon and structure. The pile needs both because decomposition depends on active microorganisms, air spaces, and enough moisture for biological activity. Food waste alone usually collapses into a wet, compact layer. Oxygen then moves poorly through it, and the resulting low-oxygen decomposition produces sour or rotten smells rather than the earthy odor associated with a functioning pile.
Each time fresh scraps are added, cover them with a noticeably larger volume of dry, coarse material. The exact amount varies with the food, but a handful of juicy melon rinds needs more dry cover than a small scoop of coffee grounds. Shredded cardboard absorbs some liquid but can mat together, so mixing it with dry leaves or small twigs creates better air channels. Whole leaves may shed water and form a blanket; chopping or combining them with other materials reduces that problem.
A useful beginner test is texture rather than a rigid recipe. A handful of mixed material should feel damp, similar to a wrung-out sponge, without releasing a stream of water when squeezed. A dry, dusty pile may need a light sprinkling of water and more moist plant material. A glossy, dripping pile needs dry browns and possibly turning. Adding more food to a wet pile because decomposition seems slow usually worsens the imbalance; the microbes need air, not simply more nitrogen.
Consider a small bin receiving vegetable peelings from one evening meal. Instead of placing the scraps in a single wet pocket, spread them through the upper layer and add torn cardboard, dry leaves, or old straw. Coffee grounds should be mixed rather than left as a thick cake. This approach sacrifices a little convenience but gives the pile a better physical structure. The alternative—burying a large bag of scraps at once—may be acceptable only when enough dry material is available to absorb the moisture and cover the food completely.
Material choice also affects finished compost. Glossy coated paper, plastic-lined receipts, chemically treated wood, and materials contaminated with cleaning products do not belong in a basic home system. Plain brown cardboard is more predictable when tape, labels, and staples are removed. Readers building a broader low-waste routine can also review Using kitchen scraps safely in beginner compost alongside their local waste service rules, since municipal compost programs may accept foods that a small backyard pile should avoid.
Add Food Waste Without Creating Pests or Odors
Placement matters as much as the scrap itself. Fresh food exposed on the surface advertises the pile to insects and animals, while a covered deposit is less accessible and dries more evenly. Make a shallow pocket in the center or upper-middle of the pile, add the scraps, mix them with nearby browns, and close the pocket with several inches of dry material. Avoid placing food against the bin wall, where odors and seepage can escape before the surrounding material has absorbed them.
Fruit flies around the collection container usually indicate overripe scraps or a lid that is being opened frequently, not necessarily a failed compost pile. Emptying the container, washing it, and storing the next batch in a cool place can solve that household-stage problem. Flies at the pile often mean exposed food or insufficient cover. Rodent digging calls for more thorough burial, a thicker carbon cap, and a review of excluded materials such as meat, cheese, oily leftovers, or cooked food containing large amounts of fat.
Odor gives useful diagnostic information. A sour, fermented smell commonly points to excess moisture, compacted food, or poor airflow. Turn the affected area into drier material and break apart clumps. An ammonia-like smell can signal too much nitrogen-rich material, such as a heavy concentration of fresh grass or food scraps, so add leaves, shredded cardboard, or straw. A pile that smells like ordinary damp earth and gradually shrinks is generally behaving more normally, although odor alone cannot prove that every part is fully composted.
Seasonal conditions change the routine. In rainy weather, a covered but ventilated bin or a protected location can prevent saturation. During dry spells, the exposed outer layer may need occasional moisture, but watering should be gradual because a dry center and wet surface can develop at the same time. Cold weather slows activity; adding more scraps will not force rapid decomposition. A smaller, well-mixed pile may cool quickly, while a larger mass retains heat better, but beginners should not treat heat as a requirement for every safe plant-based setup.
Avoid the common assumption that “natural” means harmless in any quantity. A large load of moldy produce is still a wet, concentrated food deposit, and biodegradable packaging may contain coatings or fibers unsuitable for a home pile. When uncertain, leave the questionable item out and use the dependable stream of plant scraps, dry leaves, and plain paper. For a household trying to reduce waste without inviting wildlife, Using kitchen scraps safely in beginner compost works best as a controlled feeding habit rather than unrestricted disposal.
Monitor, Correct, and Use Finished Compost
A beginner pile does not need constant attention, but it does need periodic inspection. Check whether the material is damp throughout, whether food is visible on the surface, and whether the pile contains air spaces or has collapsed into a dense mass. Turning every few weeks, or whenever the center becomes compacted, redistributes moisture and exposes undecomposed pieces to active organisms. A pitchfork is useful for a larger heap; a hand cultivator can manage a small bin. Turning too aggressively every day can dry the pile and make the routine unnecessarily demanding.
Signs of progress include shrinking volume, softened scraps, darker color, and fewer recognizable food pieces. A steady earthy smell is encouraging, but the outside may remain rough while the center changes faster. If progress stops, inspect the likely limiting condition: dry material needs moisture, wet material needs browns and air, and a thin or cold pile may simply need more time. Adding commercial starters is usually less useful than correcting moisture and structure, because ordinary soil and mature compost already contain microorganisms while the physical conditions determine whether they can work.
Finished compost should look dark and crumbly, with most original scraps no longer recognizable. A few woody fragments or eggshell pieces may remain and can be screened out or returned to a new pile. Do not use immature material as though it were potting soil; partially decomposed food can continue breaking down around plant roots and may contain recognizable food residues that attract pests. Let questionable material mature longer, especially when the pile has stayed cool or has received large, uneven deposits.
Use the finished compost as a soil amendment rather than a guaranteed fertilizer replacement. Mix a modest amount into garden soil, use it around established plants without piling it against stems, or add it to a new bed before planting. Its value comes from organic matter and improved soil structure, but plant needs still depend on the existing soil, crop, drainage, and watering pattern. Compost that contains persistent plastic, chemical contamination, pet waste, or suspicious residues should not be used in edible growing areas.
A simple maintenance priority keeps the system manageable:
- Exclude high-risk materials before they enter the collection container.
- Cover every fresh food deposit with dry, bulky material.
- Correct wetness or compaction before adding more scraps.
- Allow unfinished material additional time instead of spreading it immediately.
That priority is more reliable than chasing an ideal temperature or trying to compost every item produced in the kitchen. A small household pile may take longer than a managed municipal or commercial system, but slower decomposition is acceptable when the inputs remain clean, the pile stays reasonably aerated, and the finished amendment is used appropriately.
Frequently Asked Questions
Can citrus peels go into a beginner compost pile?
Yes, small amounts are generally suitable. Chop thick peels and mix them with varied scraps and dry material rather than adding a large citrus-only layer.
Should kitchen scraps be buried in compost?
Burying scraps in the center and covering them with browns reduces exposed food, odors, and pest access while helping the material blend into the pile.
Why does a compost pile smell sour after adding food scraps?
Sour odors often develop when wet scraps compact and exclude air. Mix in dry leaves or shredded cardboard, break up clumps, and turn the affected section.
Can cooked food be composted at home?
Plain grains or vegetables may be manageable in small amounts, but oily, salty, sauced, meat-based, and dairy-rich foods are poor choices for most beginner backyard piles.
How can I tell when kitchen-scrap compost is ready?
Ready compost is dark, crumbly, and earthy-smelling, with most food pieces no longer identifiable. Let it mature longer if it remains hot, wet, sour-smelling, or visibly full of scraps.
Further Reading
Authoritative Sources
- Composting at Home
epa.govExplains suitable compost materials, basic pile management, and common household composting practices
- Composting at Home
extension.umn.eduProvides university extension guidance on balancing materials, moisture, aeration, and finished compost use
- Compost Microscale
compost.css.cornell.eduOffers detailed educational information about decomposition conditions and compost management
Conclusion
Safe kitchen-scrap composting is mainly a matter of controlled inputs and physical balance. Feed a beginner pile with varied plant scraps, keep meat, dairy, oils, pet waste, and questionable materials out, and cut bulky pieces so they do not form slow, wet pockets. Cover each deposit with dry leaves, plain shredded cardboard, or another carbon-rich material, then check moisture and airflow before adding more food. Surface scraps, persistent odors, and animal digging are signals to change placement or ingredient balance rather than reasons to abandon the pile. Give finished compost time to mature, inspect it for recognizable waste, and use it as a soil amendment instead of a complete growing medium. A modest, clean routine is easier to maintain and usually more dependable than trying to process every kitchen leftover at once.