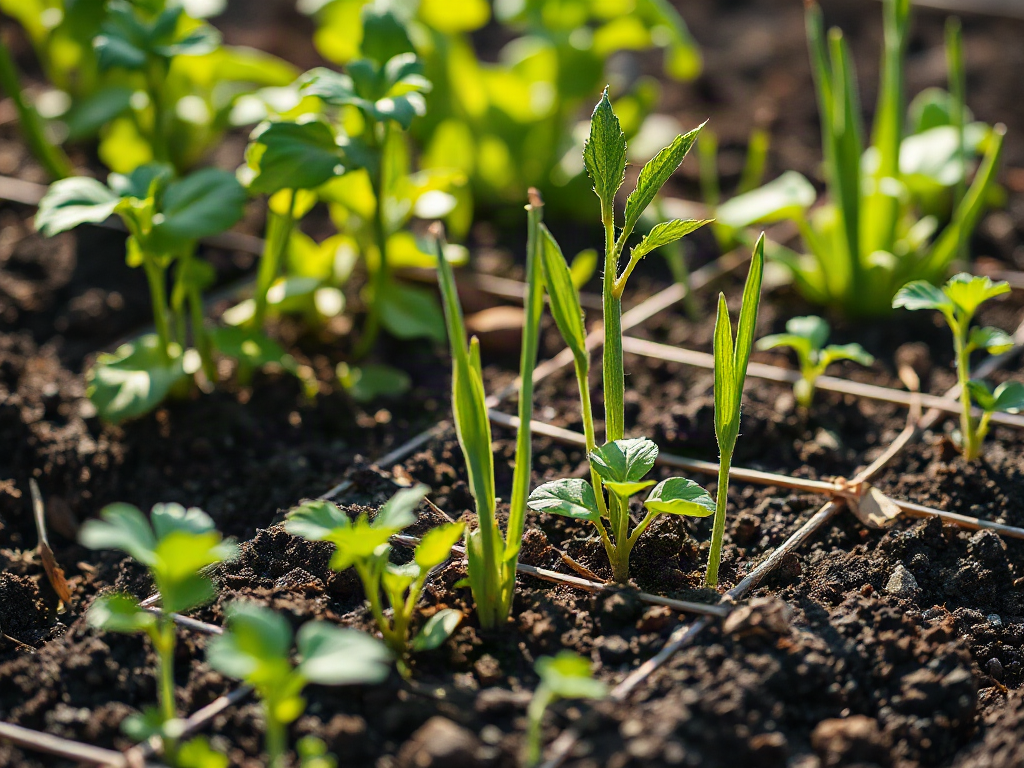
When a first garden fails, document what happened, identify whether water, sunlight, soil, pests, disease, timing, or overcrowding caused the loss, then replant only a small selection suited to the remaining season. Pull and discard diseased plants, inspect roots and leaves, test questionable soil, and compare actual sunlight with seed-packet requirements. Avoid repeating the same layout or buying replacement plants before correcting the limiting condition. A recovery garden should use dependable crops, wider spacing, reliable watering, and simple records so each change can be evaluated. Some beds may need a short fallow period or soil repair rather than immediate replanting.
Separate a Bad Harvest From a Bad Growing System
A failed first garden is usually a collection of smaller failures rather than proof that gardening is impossible. A few seedlings may have been planted too early, containers may have dried out during a hot week, or vigorous plants may have shaded everything nearby. Before removing every plant, distinguish between a crop-specific problem and a system-wide problem. One row of stunted beans points toward different causes than tomatoes, lettuce, and carrots all failing together.
Begin by recording what actually happened. Note which plants germinated, which stopped growing, which developed symptoms, and whether the problem affected one bed or the entire growing area. A crop that germinated but never expanded may have faced poor light, compacted soil, cold conditions, or inconsistent moisture. A plant that grew quickly and then collapsed may have suffered root damage, drought stress, disease, or transplant shock.
Timing also changes the diagnosis. Cool-season greens can bolt when heat arrives, while warm-season crops can remain weak when planted into cold soil. That is not necessarily a gardening mistake; it may mean the crop was used outside its useful temperature window. Compare the result with the seed packet or a university extension planting calendar, then decide whether the crop should be tried again in a different season rather than immediately.
A useful distinction is between recoverable conditions and wrong-site conditions. Uneven watering can be corrected with a hose timer or a more accessible bed. Permanent shade from a building may make sun-loving tomatoes a poor choice no matter how much fertilizer is added. Likewise, a shallow balcony container cannot support a large squash plant as easily as a deep container can support herbs or compact greens. A link such as What to do when a first garden fails should lead readers back to this diagnostic mindset rather than encourage automatic replanting.
Diagnose Water, Light, Soil, and Pest Problems
Water is the first condition to check because both drought and excess moisture produce similar symptoms. Wilting, yellow leaves, and slow growth do not automatically mean a plant needs more water. In heavy soil, roots may lack oxygen after repeated saturation; in loose containers, water may run down the sides while the root ball remains dry. Push a finger several inches into the soil near the plant, inspect drainage, and check whether moisture is consistent below the surface rather than judging only by appearance.
Light should be measured at plant level over the course of a day. A bed that looks bright in the morning may be shaded during the afternoon, when fruiting crops need strong light. Leafy greens may tolerate less sun than peppers, cucumbers, or tomatoes, so replacing a failed tomato with another tomato in the same shaded spot repeats the underlying problem. Moving a container can solve this; moving an in-ground bed may require choosing crops that match the site instead.
Soil problems require restraint. Adding fertilizer to pale plants without checking the soil can worsen salt buildup or encourage leafy growth without useful fruit. Look for crusting, standing water, hard clods, unusual odor, and roots that are brown or tightly circling. A soil test from a local laboratory or extension service can clarify acidity and nutrient levels, but it will not replace observations about drainage, sunlight, or watering habits.
Inspect leaves and stems for chewed edges, stippling, webbing, sticky residue, lesions, and clusters of insects. Photograph symptoms before treating them. Some damage is cosmetic, while widespread disease or a rapidly collapsing plant calls for removal. Avoid spraying a broad product simply because a leaf looks abnormal; misidentification can harm beneficial insects and obscure the real cause. The same careful diagnosis applies when reviewing failed seedlings, containers, and raised beds: inspect the growing conditions before blaming the seed.
Clean Up Safely and Decide What Can Be Replanted
Cleanup should match the problem. Healthy roots and spent plants can often be added to a properly managed compost system, but plants showing obvious disease, severe pest infestation, or unexplained collapse are safer to remove from the growing area. Do not leave diseased foliage on the soil surface, where splashing rain or irrigation can spread pathogens to nearby plants. Wash hands and tools after handling questionable material, especially before working with healthy beds.
Do not automatically replace every plant on the same day. First remove dead material, clear weeds that compete for moisture, and inspect the bed’s structure. If the soil remains waterlogged, repair drainage before planting. If the surface is compacted, loosen it without turning the whole soil profile into fine dust. If containers dried rapidly, increase container volume, use a moisture-retaining but well-drained growing medium, or move them closer to a dependable water source.
Replanting is sensible when the season still suits a fast crop and the cause is understood. Depending on local conditions, that might mean bush beans, radishes, baby greens, or a short-lived herb crop rather than another long-season tomato. If disease is suspected, choose an unrelated crop for that space and remove plant debris thoroughly. Crop rotation is not a perfect solution for every garden disease, but repeating the same plant family immediately can increase risk when soil-borne problems are involved.
A simple decision sequence prevents wasted seed:
- Replant now: the season is suitable, the bed drains, and the cause has been corrected.
- Change the crop: the location does not meet the original plant’s light, temperature, or space needs.
- Pause the bed: disease, persistent flooding, severe contamination concerns, or major structural problems remain unresolved.
The tradeoff is harvest versus learning. A late replacement crop may provide useful food, but forcing a crop outside its season can consume time and seed with little return. A small trial is safer than filling every empty space.
Build a Smaller, More Reliable Recovery Garden
A recovery garden should reduce the number of variables at once. Choose two or three crops with clear fit for the available light, temperature, space, and time. Planting six kinds of vegetables after a failure makes it difficult to determine which change worked. Planting one compact bed of greens and one row of beans creates a manageable test, particularly when the gardener can check moisture regularly.
Use dependable infrastructure before adding complexity. A simple mulch layer can reduce evaporation and soil splash, while a soaker hose or carefully positioned drip line may provide more even moisture than occasional hand watering. Containers need drainage holes and should be checked during hot or windy weather. Raised beds can improve access and soil control, but they also dry faster than surrounding ground, so their convenience comes with a watering requirement.
Spacing deserves special attention. Crowded plants compete for light and air movement, remain wet longer after irrigation, and become harder to inspect for pests. Seed packets often provide thinning and final-spacing guidance for a reason. If losing a few plants feels costly, thin gradually and use the young plants as greens when appropriate rather than allowing the entire row to become overcrowded.
For example, someone whose first garden lost tomatoes to shade and irregular watering might use the same area for parsley, chives, or leafy greens while placing a few tomatoes in movable containers where afternoon light is available. That approach may produce less summer fruit than a full tomato bed, but it tests the light problem without committing the whole garden. A beginner-friendly recovery is not necessarily the cheapest per plant; it is the one that makes failures visible early enough to correct.
Keep inputs modest. Compost can improve organic matter over time, but it is not a universal cure, and excessive amendments can alter drainage or nutrient balance. Fertilize according to the crop and soil information available, not according to how disappointing the previous harvest was.
Use Records to Make the Next Season Easier
Good records turn a disappointing harvest into usable evidence. Write down planting dates, varieties, bed locations, watering interruptions, weather extremes, pest sightings, and the date symptoms first appeared. A quick phone photograph beside a ruler or familiar object can show whether leaf spots are spreading and whether growth is actually improving after a change.
Review the notes at the end of the season instead of relying on memory. Memory tends to compress several problems into “the garden failed,” while records may show that radishes performed well, peppers were planted too early, and one bed stayed wet after rain. Those distinctions guide next year’s purchases and layout. Keep successful varieties and remove crops that repeatedly conflict with the site unless a meaningful condition can be changed.
Use a short weekly inspection rather than waiting for visible collapse. Check soil moisture, undersides of leaves, new growth, supports, and drainage after rain. Signs of improvement include firm new leaves, steady growth, dry-down between waterings, and fewer fresh lesions or chewing marks. Signs that the approach is failing include worsening symptoms on new growth, persistent standing water, repeated midday wilt despite moist soil, or a pest population expanding faster than plants can recover.
Prioritize changes that address the largest constraint. Better timing usually matters more than buying premium seed; reliable watering may matter more than adding another amendment; removing a diseased plant may matter more than treating every neighboring leaf. For more context on rebuilding after a poor result, use What to do when a first garden fails as a record of the corrective decisions, not merely as a list of replacement crops.
For crop-specific diagnosis, planting dates, soil testing, and pest identification, consult your state university extension service, local master gardener program, or a public horticulture department. These sources can account for regional climate and commonly encountered diseases more accurately than a generic online planting chart.
Frequently Asked Questions
Should I remove every plant after a garden fails?
No. Keep plants that are growing normally, and remove only dead, severely diseased, or heavily infested material after identifying the likely problem.
Can adding compost fix a failed garden?
Compost may improve organic matter, but it will not correct shade, poor drainage, incorrect planting time, or an active pest problem. Diagnose the limiting condition first.
What should I plant after a failed first crop?
Choose a crop suited to the remaining season and the corrected site. Fast greens, radishes, herbs, or bush beans may be more practical than another long-season crop.
How can I tell whether overwatering caused the problem?
Check for persistently wet soil, poor drainage, yellowing, soft stems, odor, or darkened roots. Compare those signs with the watering frequency before adding more water.
Is it worth trying the same vegetable again?
Yes, if the crop fits the site and you can change the cause of failure. Use a smaller trial, a different planting date, or a better location instead of repeating the original setup.
Conclusion
A failed first garden becomes useful when it is treated as a diagnosis problem rather than a verdict. Identify the affected crops, inspect moisture and roots, measure available light, look for pest or disease patterns, and correct the physical condition before buying replacements. Replant only what fits the remaining season, and use a small trial to avoid multiplying uncertainty. Reliable watering, appropriate spacing, clean tools, and brief weekly notes usually provide more practical value than a larger collection of amendments or varieties. If the site itself is unsuitable, change the crop or use containers instead of forcing the original plan. The next garden should be simpler, easier to observe, and designed around the constraint that caused the first one to fail.