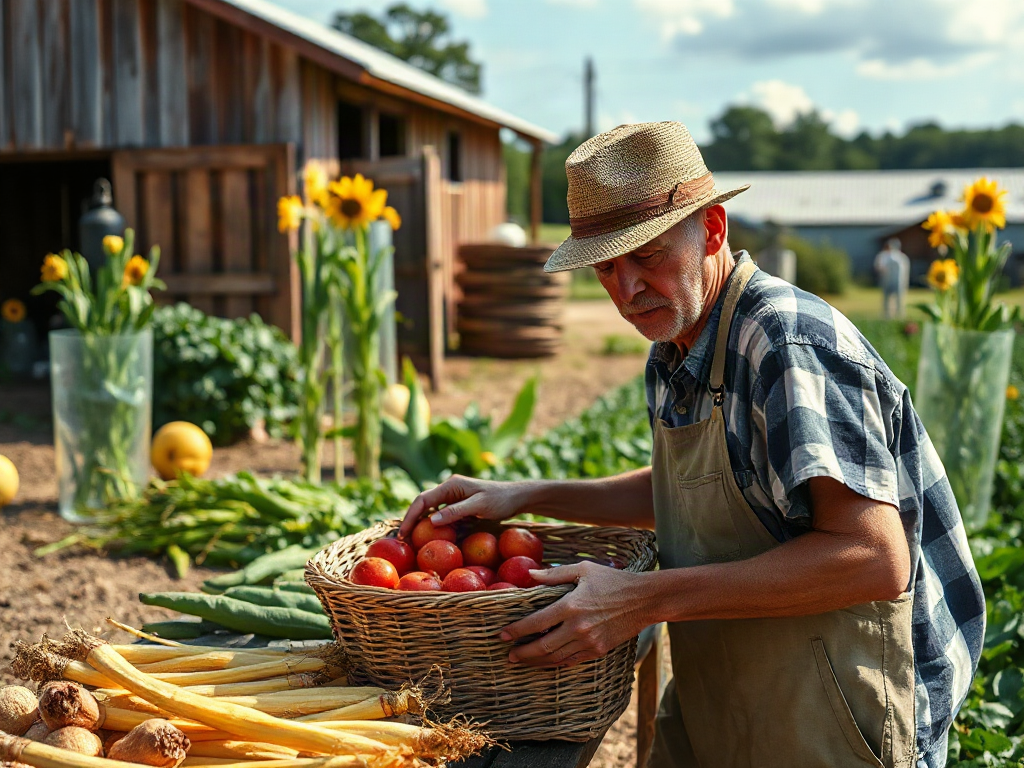
Self-picking farms and practical homestead harvests work best when crop timing, field methods, and storage are treated as one continuous process rather than separate tasks. Pick during the farm’s recommended maturity window, handle produce by its strongest structural part, keep filled containers shaded, and cool perishable crops promptly. At home, harvest in small batches based on immediate kitchen, preservation, and storage capacity instead of stripping an entire planting at once. Quality falls quickly when fruit is picked wet or overripe, vegetables remain in hot containers, or damaged produce is mixed with sound storage crops.
Choose Crops by Use, Condition, and Picking Window
A productive picking day begins with a defined use for every crop. Fresh eating, jam, freezing, dehydration, canning, and cellar storage call for different stages of maturity and different quantities. A basket of fully colored berries may be ideal for dessert or preserves, while firmer berries usually tolerate the trip home better. Storage apples need sound skins and careful handling; fruit intended for immediate sauce can be less visually uniform, provided it is wholesome and not moldy.
Confirm what is actually available before traveling. A farm may advertise several crops for the season, but weather, customer traffic, and uneven ripening can change field availability within a day. Ask which varieties are open, whether containers are supplied, how produce is priced, and whether the field has closing or last-entry times. Farm instructions matter because growers know which rows are ready and which fruit detaches properly at maturity. Color alone can mislead: some apple varieties color before their flavor develops, while certain berries can look ripe on one side and remain pale near the stem.
Harvest quantities should be calculated backward from household capacity. Estimate how much the family will eat fresh, then add only what can be processed or placed in suitable storage within the next day or two. Twenty pounds of cucumbers are useful when jars, vinegar, lids, refrigerator space, and processing time are ready. The same quantity becomes a quality problem when it sits in a warm kitchen awaiting a plan. Bulk pricing can lower the cost per pound, but it does not recover produce lost to bruising, dehydration, or decay.
Field condition is another decision point. Dry produce generally stores better than produce picked during rain or while heavy dew remains on the crop. Surface moisture does not automatically ruin a harvest, but it adds handling and drying work and can favor decay when wet items are packed tightly. Intense afternoon heat presents a different problem: sun-warmed berries, leafy greens, and tender vegetables lose quality faster and require prompt cooling. Early picking is often preferable when the farm permits it.
Use a short pre-trip check before committing to volume:
- Destination: fresh use, preservation, short refrigeration, or long storage.
- Capacity: containers, vehicle space, cooling room, jars, freezer space, and available labor.
- Crop condition: maturity, dryness, firmness, and freedom from decay.
- Farm requirements: approved rows, container rules, pricing method, and picking hours.
The common mistake is treating the field as an unlimited pantry. A disciplined picker stops when the planned uses are covered, even if more attractive produce remains. That boundary protects the budget and leaves enough time to handle the harvest well.
Use Field Methods That Protect Quality
Good field technique prevents damage that cannot be repaired later. Produce continues to respire after harvest, and bruising accelerates softening and decay. The practical goal is to detach each item cleanly, avoid compression, and limit heat exposure from the moment it leaves the plant. Farm-specific instructions should take priority because strawberries, blueberries, apples, beans, tomatoes, and root crops do not share one universal picking motion.
Small fruit belongs in shallow, rigid containers rather than deep bags. A deep bucket may be convenient to carry, but the lower berries bear the weight of everything above them. Pick only dry, sound fruit, place it rather than dropping it, and avoid repeatedly pouring it between containers. Apples and similar tree fruit should be lifted and turned as the farm directs, not pulled hard enough to tear spurs or break branches. With beans, peppers, and cucumbers, support the vine or stem so removing one vegetable does not uproot or injure the plant.
Hands reveal maturity better than aggressive tugging. Fruit that should release easily but does not may need more time. A vegetable that must be twisted forcefully may require approved snips, if the farm allows tools. Never assume personal knives or pruners are permitted; sanitation, plant damage, and visitor safety all affect farm policies. Likewise, tasting should occur only when explicitly allowed. Unwashed field produce may carry soil, wildlife contamination, or residues from permitted crop treatments.
Separate damaged items as soon as they are noticed. A split peach, leaking berry, or punctured tomato can wet neighboring produce and make later sorting harder. Minor cosmetic defects may be acceptable for prompt cooking, but mold, fermentation odors, and widespread soft rot are rejection signs rather than preservation opportunities. Trimming visible mold from soft fruit is not a sound way to convert spoiled produce into jam.
Container placement matters during the return trip. Keep the harvest out of a closed vehicle’s sunlit cargo area whenever possible, stabilize boxes so they cannot slide, and avoid stacking heavy pumpkins or full baskets over tender crops. A cooler with ice packs can be useful for berries or greens, but direct contact with melting ice can leave produce wet. A barrier or sealed cold pack provides cooling without soaking the crop.
A useful sequence is pick, inspect, place, shade, and cool. Signs that the method is working include intact skins, dry container bottoms, minimal juice leakage, and produce that remains firm on arrival. Crushed lower layers, condensation inside sealed bags, torn stems, or rapidly softening fruit indicate that depth, heat, moisture, or handling pressure needs correction. For a broader seasonal approach to Self-picking farms and practical homestead harvests, field technique should be matched to the intended storage life rather than judged only by how quickly a container fills.
Coordinate Farm Picking With the Homestead Harvest
Farm visits are most useful when they fill a genuine gap in the home harvest. A small property may produce abundant tomatoes and herbs but lack the acreage, mature trees, soil conditions, or labor needed for apples, blueberries, or pumpkins. Self-picking can supply those crops without forcing the homestead to maintain every perennial planting. The tradeoff is concentration: a farm visit may deliver a large volume on the same day the garden also needs attention.
Map both harvest streams on one calendar. Note the likely windows for garden beans, cucumbers, tomatoes, squash, potatoes, and orchard fruit, then place farm trips where they will not collide with the heaviest home workload. Exact dates will move with weather and variety, so use readiness signs rather than a rigid annual date. A week marked for tomato sauce is a poor time to bring home several flats of delicate berries unless another person can wash containers, prepare freezer trays, or cook preserves.
At home, selective picking extends the useful season. Harvest ripe tomatoes while leaving firm green fruit on healthy plants, cut mature cucumbers before they become oversized, and pick beans frequently enough to keep pods tender. Root crops may offer more flexibility if soil and weather remain suitable, whereas ripe berries and split-prone tomatoes demand faster attention. This difference lets the household defer robust crops while prioritizing produce with a narrow quality window.
Consider a midsummer scenario: the garden is producing zucchini, basil, and early tomatoes, but the household wants strawberries for the freezer. The practical choice is not simply to pick as many strawberries as the farm offers. First clear freezer space, prepare trays or containers, harvest the home zucchini the evening before, and schedule the farm trip early the next morning. After returning, cool and process the berries before resuming garden work. The sequence prevents both harvests from competing for the same counter space and labor.
Record actual yield and processing time. A note that two adults picked a certain number of containers is less useful than documenting how much fruit reached the freezer, how long sorting took, and whether any was discarded. Those records reveal the household’s realistic throughput. They also help distinguish a crop worth picking in bulk from one better purchased in a modest quantity.
The weak assumption is that more self-produced or self-picked food automatically means greater self-reliance. Waste, rushed preservation, and neglected garden crops reduce the value of the trip. A better measure is the proportion used at good quality. Readers building a repeatable schedule for Self-picking farms and practical homestead harvests should prioritize complementary crops, staggered workloads, and honest labor limits.
Sort, Cool, Preserve, and Store the Harvest
Post-harvest handling determines whether a successful picking day becomes useful food or rapid waste. Begin by sorting produce according to condition and intended use. Place flawless storage candidates apart from bruised, cracked, insect-damaged, or very ripe items. Use the most perishable sound produce first, process suitable damaged items promptly, and discard anything with mold, active decay, or an unsafe odor. Mixing all grades together allows leaking or rotting pieces to compromise better produce.
Cooling priorities vary by crop. Berries, tender greens, sweet corn, and many freshly picked vegetables generally benefit from prompt cooling. Tomatoes intended to finish ripening and cured storage crops have different needs, so a cold refrigerator is not the default destination for everything. Potatoes, onions, garlic, winter squash, and similar crops require crop-specific curing or storage conditions; they should not be packed away merely because their surfaces feel dry. Follow current preservation and storage directions from a university extension service, the USDA, or another recognized food-safety authority for the exact crop.
Washing is also crop-dependent. Visible field soil should not be ignored, yet washing everything before storage can leave excess moisture in crevices and containers. Berries are commonly kept dry until near use unless a tested processing method requires washing immediately. Root vegetables may store better with loose soil gently removed rather than being scrubbed and left damp. When washing is appropriate, use clean water, drain thoroughly, and avoid household soap or detergent on produce.
Preservation must follow tested methods rather than improvisation. Freezing is often the simplest choice for households short on same-day labor, although some vegetables need blanching to preserve acceptable quality. Jam, pickles, and canned products require a tested recipe and the specified jar size, acidity, headspace, and processing method. A favorite fresh salsa recipe is not automatically suitable for shelf-stable canning, and adding extra low-acid ingredients can change its safety profile. If verified directions are unavailable, refrigerate, freeze, or choose another tested preparation.
Storage areas need active inspection. Label packages with the crop, variety when useful, and date; place older food where it will be used first. Check stored apples, squash, onions, and potatoes regularly for soft spots, leakage, sprouting, or mold. Condensation, persistent dampness, or decay appearing in several items signals that ventilation, temperature, crop preparation, or initial sorting was inadequate. Removing one spoiled item addresses the symptom, but the surrounding produce and storage conditions still need examination.
The practical endpoint for Self-picking farms and practical homestead harvests is not a full basket; it is sound food placed into an appropriate use stream. Reserve prime specimens for storage, direct ripe produce toward immediate meals or preservation, and keep questionable food out of long-term batches. That hierarchy protects both quality and the labor already invested.
Frequently Asked Questions
What should I bring to a self-picking farm?
Bring farm-approved containers, drinking water, sun protection, sturdy footwear, and a way to shade the harvest. Add a cooler with sealed cold packs for delicate crops, but confirm the farm’s container and tool rules before leaving home.
How much produce should I pick at one time?
Pick only what can be eaten, cooled, processed, or placed into proper storage promptly. Calculate quantity from available jars, freezer room, refrigerator space, labor, and tested recipes rather than from the field’s abundance or a bulk discount.
Is early morning the best time to pick produce?
Morning often reduces field heat and protects delicate produce, provided crops are dry and the farm is open. After rain or heavy dew, waiting for surfaces to dry may be more useful than picking at the earliest hour.
Should freshly picked fruit be washed before storage?
Not always. Delicate fruit such as berries often keeps better when stored dry and washed shortly before use. If produce must be washed for immediate processing, drain it well and follow the tested recipe’s preparation directions.
How can I combine a farm visit with a busy garden harvest?
Choose farm crops that complement rather than duplicate the garden, clear processing space beforehand, and avoid trips during the garden’s heaviest preservation days. Harvest flexible home crops later while handling berries and other highly perishable produce first.
Conclusion
A useful harvest is measured by food retained in good condition, not by the number of full containers brought home. Confirm farm availability and rules, assign every crop a fresh, preserved, or stored use, and limit quantities to the household’s actual cooling and processing capacity. In the field, gentle detachment, shallow containers, shade, and early damage checks protect quality before storage begins. At home, coordinate farm trips with garden readiness, sort produce by condition, and give the shortest-lived crops first access to labor and cold space. The next practical step is to choose one desired crop, check its likely picking window, inventory containers and preservation supplies, and set a firm quantity ceiling before visiting the farm.