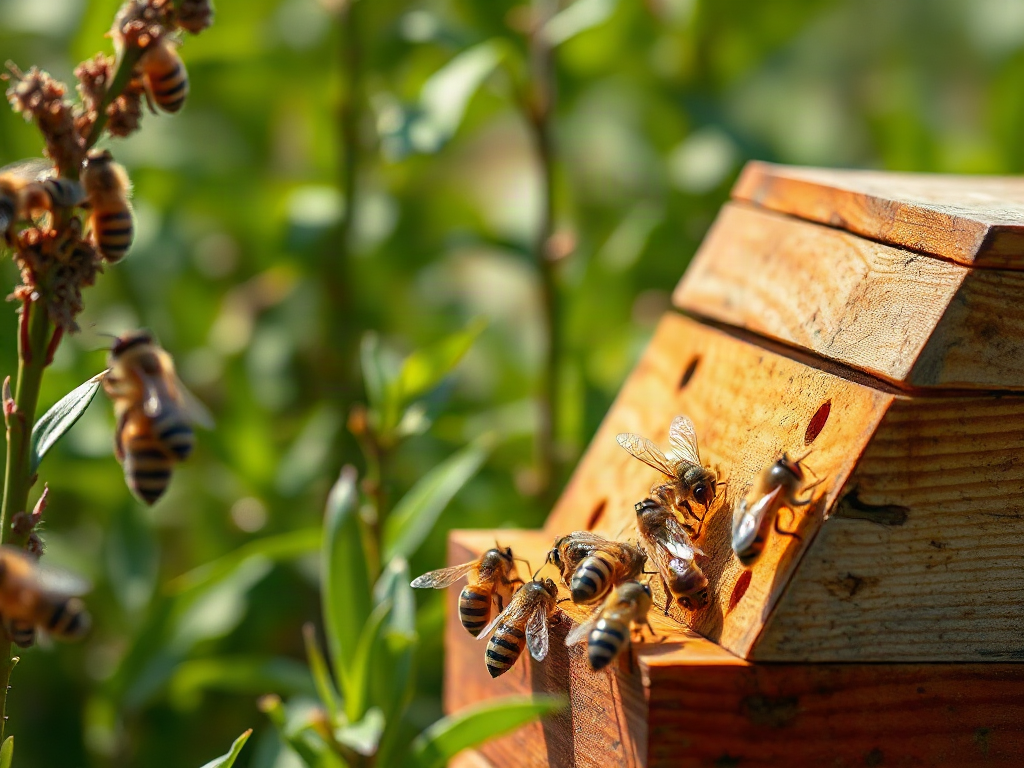
Beginner beekeeping succeeds when hive placement provides morning sun, dry footing, wind protection, and a clear flight path, while inspections track brood pattern, food stores, queen status, space, and pest pressure. Open colonies about every 7–10 days during active buildup, adjusting for weather, nectar flow, and colony condition rather than following a rigid calendar. Seasonal care means preventing spring crowding, maintaining summer ventilation and water, verifying autumn stores, and limiting winter disturbance. The major beginner errors are placing a hive for human convenience alone, inspecting without a purpose, adding space too early, and postponing mite monitoring until bees show visible decline.
Where Should a Beginner Place a Beehive?
A useful hive site balances the colony’s biological needs with safe, workable access for the beekeeper. Morning sunlight encourages earlier foraging and helps dry condensation, while afternoon shade may reduce heat stress in very hot climates. Neither feature compensates for a site that floods, stays muddy, or becomes inaccessible when equipment must be carried to the colony.
Set the hive on a stable stand that keeps the bottom board above damp ground. A slight forward tilt allows rain or condensation to drain toward the entrance, but the stand should remain level from side to side so comb is built correctly. Concrete blocks, treated lumber, or a purpose-built metal stand can work if the structure does not rock when boxes are lifted. Plan for the weight of honey-filled equipment rather than testing the stand only with an empty hive.
Face the entrance toward an open area rather than a walkway, doorway, neighboring yard, or livestock enclosure. Bees normally rise as they leave the entrance, but a fence or dense hedge several feet in front of the hive can encourage them to gain altitude sooner. That barrier is useful on smaller properties, although it should not trap moist air around the colony. Keep enough clear space behind and beside the hive to stand, remove covers, and place boxes without blocking the flight path.
Wind exposure deserves more attention than compass direction. A protected location reduces drafts and makes winter temperature regulation less demanding, yet an enclosed hollow may collect cold air and moisture. In regions with hot summers, access to clean water is equally important. Establish a shallow water source with stones, floats, or textured landing surfaces before the bees begin using a pool, animal trough, or neighbor’s faucet.
Human access is the final test. A picturesque corner at the bottom of a steep slope becomes impractical when a full super must be carried uphill. Before installing bees, check whether the site offers:
- Firm, all-season footing and a stable raised stand
- A clear entrance with flight directed away from people
- Sun and shade suited to the local climate
- Wind protection without stagnant, damp air
- Working room for opening and moving hive bodies
- Compliance with local zoning, registration, setback, or water rules
The common mistake is optimizing one variable, such as full sun, while ignoring drainage, access, or neighborhood exposure. Choose the site as an operating area, not merely a place where a hive physically fits.
How to Inspect a Hive Without Disrupting the Colony
A productive inspection has a defined question before the cover is lifted. Early in the season, the question may be whether the colony has a laying queen and enough food. During rapid buildup, it may be whether brood space is becoming crowded. Opening every box and examining every frame without a purpose lengthens exposure, chills brood in cool weather, and increases the chance of rolling the queen between frames.
Choose a mild, relatively calm period when many foragers are away. Avoid opening the hive during cold rain, strong wind, or late evening unless an urgent problem requires action. Have the smoker lit, hive tool ready, and any replacement equipment within reach. Cool, pale smoke applied sparingly at the entrance and beneath the cover can interrupt alarm communication; hot smoke or repeated heavy puffs may agitate bees and contaminate the working environment.
Work from the side or rear, not directly in front of returning foragers. Remove an outside frame first to create working space, then lift frames vertically before turning them for examination. Keep each frame over the open hive so a dropped queen or cluster of bees lands inside. Return frames in their original order and orientation unless correcting a known equipment problem.
During active colony growth, a 7–10 day interval is often practical for a new beekeeper because it is frequent enough to detect crowding and queen-cell development without opening the hive every few days. That range is not a universal rule. A newly installed colony, a suspected queen problem, a strong nectar flow, or a recent swarm-control manipulation may justify a different schedule. Winter inspections are usually external, with the hive opened only when conditions and colony needs make intervention reasonable.
Keep a short record immediately after closing the colony. Note the date, weather, brood stages observed, food availability, space remaining, mite-monitoring result, queen status, and action taken. “Hive looked good” provides little value at the next visit. A note such as “eggs present, six frames substantially covered with brood, outer stores light, feeder half full” creates a usable comparison.
An inspection is working when it answers the planned question, causes little comb damage, and leads to a specific next step. It is failing when the hive remains open while the beekeeper searches aimlessly, repeatedly rearranges frames, or makes changes without recording why.
What Should You Look for During Each Inspection?
Inspect the colony as a functioning system rather than treating queen sighting as the only sign of success. Fresh eggs and young larvae usually provide better evidence of recent queen activity than spending extra time searching for her. Brood of several ages indicates continued development, while the brood pattern, adult population, food placement, available space, and pest levels reveal whether that development is sustainable.
A compact brood area is generally easier for workers to warm and tend than brood scattered across many frames, but an imperfect pattern does not identify a single cause. Chilled brood, disease, nutrition, comb condition, pesticide exposure, queen performance, or normal emergence can produce superficially similar gaps. Beginners should document what they see, compare it with the previous inspection, and seek help from a local beekeeping association or extension resource when brood appears abnormal. Avoid diagnosing or treating from one photograph or one patchy frame.
Food stores must be interpreted in context. Nectar or syrup provides carbohydrate, while pollen supports brood rearing. A colony can occupy many frames and still face a shortage if poor weather interrupts foraging during rapid growth. Conversely, heavy incoming nectar can fill cells needed for egg laying and contribute to crowding. Inspect both what the bees possess and where it is located.
Use the same compact sequence at each visit:
- Entrance and population: Observe flight, dead bees, fighting, robbing behavior, and unusual debris before opening.
- Queen evidence: Look for eggs, young larvae, and an organized brood area; find the queen only when the planned task requires it.
- Food: Assess nectar or honey, pollen, and whether stores are accessible to the cluster.
- Space: Check whether brood frames and comb are genuinely occupied before adding another box.
- Pests and disease signs: Use an appropriate monitoring method and record the result rather than relying on casual visual checks.
Varroa mites require particular attention because visible mites on adult bees are not a reliable early-warning system. Monitoring methods, action thresholds, and lawful treatment choices vary by season, location, and product label. Follow current local extension guidance and the complete label for any approved control. Treatments can have temperature restrictions, timing limits, honey-super constraints, or resistance concerns; applying a product from memory is not adequate.
Adding boxes too early is another frequent mistake. Extra empty volume does not automatically accelerate colony growth and can create more space for bees to defend or regulate. Add room when the colony is substantially using its current comb and expansion conditions support growth, not simply because the calendar reaches a particular month.
Seasonal Beehive Care From Spring Through Winter
Seasonal management should follow colony development and local bloom conditions rather than fixed national dates. Spring may begin months apart in different regions, and rainfall can turn an expected nectar flow into a dearth. Use flowering plants, daytime temperatures, brood expansion, hive weight, and forage activity as operational signals.
| Season | Main Priority | What to Check | Common Failure |
|---|---|---|---|
| Spring | Growth and swarm pressure | Brood expansion, stores, usable comb, queen cells | Adding space after congestion is already severe |
| Summer | Food, water, heat, and pests | Nectar flow, ventilation, water access, mite levels | Assuming abundant flowers guarantee adequate forage |
| Autumn | Winter readiness | Colony strength, stores, pests, equipment condition | Delaying corrections until cold weather |
| Winter | Protection with minimal disturbance | Hive weight, entrance condition, moisture, storm damage | Opening repeatedly or sealing away all ventilation |
Spring management focuses on whether population growth is outrunning available brood space. Strong colonies may prepare to swarm even when unused equipment sits above them if the brood nest itself is congested or poorly arranged. Timely space management can help, but adding a super is not a guaranteed swarm-control measure. Inspect for queen cells and understand whether they indicate swarm preparation, supersedure, or an emergency response before destroying them.
Summer conditions create opposite risks. Hot weather may increase water demand, while a forage gap can leave a large population consuming stores rapidly. Robbing pressure also rises during dearths, so avoid spilling syrup or leaving exposed comb near the apiary. Reduce entrances when defense appears difficult, and do not conduct long inspections that release strong food odors around weaker colonies.
Autumn is the correction window. Evaluate stores, queen performance, colony population, mite pressure, damaged equipment, and entrance protection while weather still permits useful action. The quantity of winter food needed varies too much by climate, bee stock, hive configuration, and winter length for one universal target. Local experienced beekeepers and extension guidance are better sources for regional expectations than a number borrowed from a different climate.
Winter care is usually observational. Check after storms for shifted covers, blocked entrances, animal damage, or a hive leaning on its stand. Hefting from the rear can indicate a major change in food weight without dismantling the colony. Moisture management matters because warm air from the cluster can condense on cold surfaces; however, excessive ventilation can create damaging drafts. Use a locally appropriate configuration rather than assuming maximum airflow or complete sealing is always correct.
Frequently Asked Questions
How often should a beginner inspect a beehive?
During active spring and early-summer growth, about every 7–10 days is often workable. Inspect less often during cold or poor weather, and adjust the interval when monitoring a queen issue, swarm risk, feeding need, or recent manipulation.
Should a beehive face east?
An easterly or southeasterly entrance can receive morning sun, but drainage, wind shelter, safe flight direction, and beekeeper access usually matter more than an exact compass bearing.
Do I need to find the queen at every inspection?
No. Eggs and very young larvae usually confirm recent laying activity. Finding the queen is necessary for tasks such as marking, caging, splitting, or replacing her, but unnecessary searching can prolong routine inspections.
When should another hive box be added?
Add space when bees are substantially occupying and using the existing comb and continued growth or nectar intake is expected. An empty box added too soon may increase the area a small colony must regulate and defend.
Can a hive be placed close to a house?
Possibly, if local rules permit it and the entrance directs flight away from doors, paths, play areas, and neighboring property. Provide a water source, working clearance, and a barrier where needed to lift the bees’ flight path.
Conclusion
A beginner’s strongest advantage is consistent observation backed by written records. Select a dry, stable hive site that protects the flight path and remains easy to work throughout the year. Enter each inspection with a defined purpose, confirm queen activity through brood evidence, assess stores and usable space, and monitor pests with a recognized method rather than waiting for obvious damage.
Let local weather, forage, and colony development determine seasonal timing. Spring calls for close attention to growth and congestion; summer brings heat, water, forage gaps, and robbing concerns; autumn is the time to correct food, pest, and equipment problems; winter favors external checks and limited disturbance. Before installing bees, verify local requirements and connect with a regional association or extension program. Local conditions shape hive management more than any universal calendar.