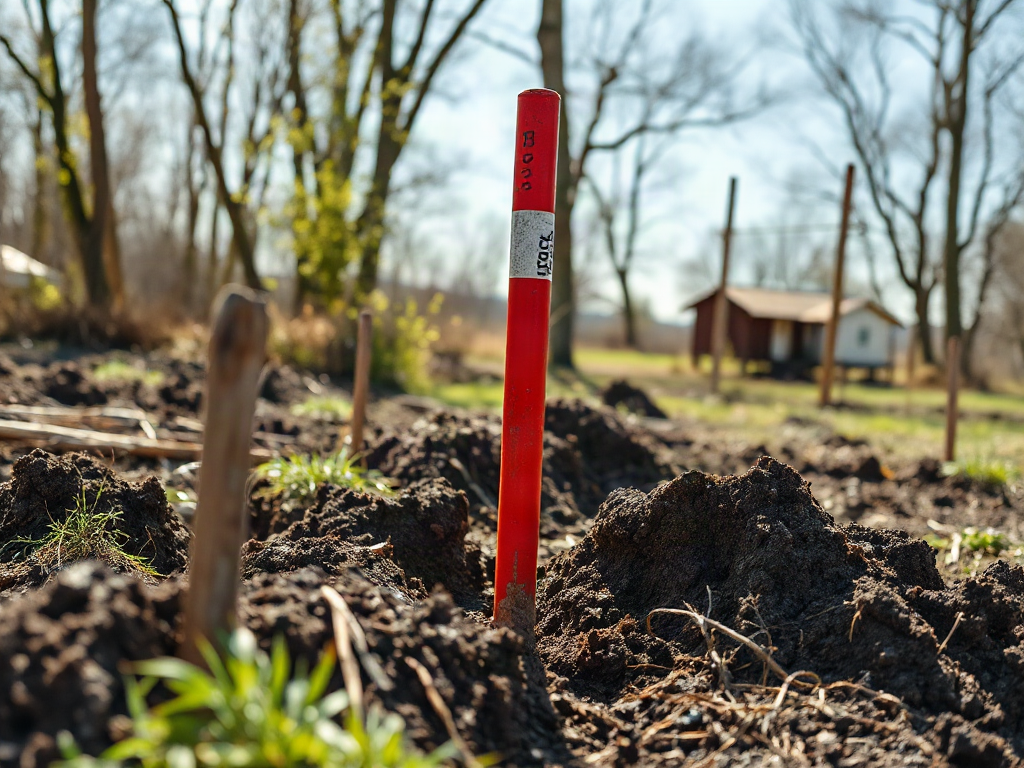
Marking utility lines before digging homestead projects should begin with an 811 locate request, followed by a site walk, verification of every marked route, and cautious exposure where planned excavation approaches a utility. Provide precise work-area boundaries, wait for all notified operators to respond, and preserve the colored flags and paint until digging is finished. Treat marks as an approximate horizontal route rather than an exact depth reading, because line position can vary and private services may not be included. If marks conflict with meters, pedestals, utility records, or visible service paths, stop and ask the operator or a qualified private locator to resolve the discrepancy.
Requesting an Accurate Utility Locate
A useful locate request describes the actual excavation area rather than the property as a whole. Before contacting 811, outline the proposed trench, post hole, pond edge, foundation, drain, or grading limit with white paint, stakes, or another locally accepted method. Include access instructions, gate conditions, nearby landmarks, and the side of the property where work will occur. A locator who can distinguish the new water trench from several unrelated fields has a better chance of marking the correct area.
Contact 811 before disturbing soil with powered equipment or hand tools, and follow the notice period and ticket procedures required in the project’s state. Requirements vary, so a familiar rule from another state or an earlier project should not be assumed to apply. The ticket identifies utility operators that may have facilities near the described work. It does not automatically prove that every buried pipe, wire, or conduit on a homestead has been found.
Homestead sites often contain both operator-owned infrastructure and privately installed lines. A utility may mark its electrical service only to the meter, while the cable continuing from that meter to a barn, pump house, workshop, gate opener, well controller, or detached cabin may be the owner’s responsibility. Propane lines, septic wiring, irrigation mains, livestock water pipes, and abandoned services are other common private features. A private utility locator may be needed when these lines cross the excavation area.
Track the response from every operator listed on the ticket. Some operators mark the ground; others report that their facilities are clear of the stated work area. Silence should not be treated as clearance. If an expected operator has not responded by the applicable deadline, use the local 811 system’s instructions for a missing or incomplete response rather than beginning work based on the marks that happen to be visible.
A common failure is changing the project after the ticket is submitted. Moving a fence corner, lengthening a swale, or routing a trench around a boulder can put excavation outside the described area. Update or renew the request as required instead of stretching the original ticket to cover new work. The practical sequence for Marking utility lines before digging homestead projects is to define the footprint first, submit a precise request, confirm all responses, and keep the ticket details available at the site.
Reading Marks and Identifying Coverage Gaps
Utility paint and flags communicate facility type and approximate route, not a guaranteed depth or exact edge. Under the commonly used American Public Works Association color convention, red indicates electric power, yellow gas or other gaseous materials, orange communications, blue potable water, green sewer or drain lines, purple reclaimed water or irrigation, pink temporary survey markings, and white proposed excavation. Local practices and written responses still control, especially when symbols, offsets, or abbreviations accompany the colors.
Read each marked route in relation to physical equipment. A red line may connect a transformer or pedestal to a meter; orange marks may run toward a communications box; blue marks may approach a curb stop or water entry point. On a rural parcel, a route that stops at a meter can indicate the end of the operator’s responsibility rather than the end of the buried service. Continue the site assessment by identifying where owner-installed lines leave meters, tanks, wells, and outbuildings.
Marks can include a single centerline, parallel lines, arrows, offsets, or labels showing the number and type of facilities. Do not infer meaning from color alone when the pattern is unclear. Photograph the markings from several fixed viewpoints and include recognizable objects such as a building corner, fence post, or meter. Photos help if rain, mowing, livestock, or vehicle traffic damages the marks, but they do not replace a required refresh or remark request.
Compare the marks with the excavation layout before equipment arrives. Warning signs that deserve clarification include:
- A marked route that ends unexpectedly between two visible utility points.
- No mark for a service known to supply an occupied building or operating pump.
- Paint that falls outside the work area even though a line appears likely to cross it.
- Flags or symbols that are too damaged, sparse, or ambiguous to follow confidently.
- A facility shown as clear despite visible equipment near the proposed excavation.
The weak assumption is that an empty patch of ground means no utility exists. It may instead mean the operator reported clear, the requested area was described incorrectly, the facility is private, or the marks were displaced. Resolve the reason through the ticket system, operator, property records, or a qualified private locator. Never move a utility flag to make room for mowing or machinery; a relocated flag creates false information for everyone working afterward.
Verifying Utilities at the Planned Dig Site
Marked routes need field verification before excavation crosses or closely parallels them. Begin with a slow walk that connects paint and flags to meters, wellheads, propane regulators, septic components, utility pedestals, and building entry points. Then compare those observations with available installation invoices, as-built drawings, inspection records, and notes from prior owners. Records can narrow the search, but soil movement, repairs, undocumented additions, and inaccurate sketches limit their authority.
Consider a trench planned from a house to a new garden hydrant. Public locating may identify the incoming electrical and communications services, yet an unmarked cable may still run from the house panel to a well pump or detached shed. If the project crosses the logical path between those components, the absence of public marks should trigger private locating or careful investigation. Guessing that a cable follows the shortest route is unsafe because installers often detour around foundations, rock, trees, or earlier utilities.
Private locating is especially useful where a homestead has multiple generations of improvements. A locator may use electromagnetic equipment for conductive lines, a sonde placed in an accessible nonmetallic pipe, or ground-penetrating radar in suitable conditions. Each method has limitations. Plastic water pipe without tracer wire may be difficult to detect, congested utility corridors can produce confusing signals, and soil conditions can reduce radar effectiveness. Ask what was actually traced, where access was obtained, and which suspected facilities remained unresolved.
Where excavation must approach a mark, expose the facility cautiously using methods allowed by local rules and appropriate to the utility. Hand digging or vacuum excavation may be used within the tolerance zone, but neither method makes contact harmless. A shovel can damage a cable jacket or plastic gas line, while aggressive vacuum excavation can harm some facilities if performed incorrectly. The operator’s instructions, state requirements, soil conditions, and facility type should determine the method.
Depth is another frequent source of misplaced confidence. Marks generally indicate horizontal position, and past grading can leave one segment shallow while another remains deeper. A buried line found at one point does not establish its depth farther along the trench. Verification is working when the exposed facility agrees with the marked route, its direction is clear, and excavation limits can be adjusted around it. It is failing when signals conflict, a line cannot be found where expected, or the route disappears beneath disturbed ground. Stop at that point rather than widening the search with powered equipment.
Excavating Without Losing the Safety Margin
Safe excavation depends on keeping the locate information connected to the work as soil is opened. Brief every person operating a trencher, auger, backhoe, skid steer, or shovel. Show them the ticket area, marked routes, unresolved private lines, tolerance zones, and the point at which mechanical digging must stop. A ticket stored in a truck is not enough if the operator in the field does not know where the restrictions begin.
Use a deliberate crossing method instead of approaching a marked facility at full production speed. Establish the utility’s position with an accepted non-destructive or cautious exposure method, support it as necessary, and prevent the bucket, auger, spoil pile, or vehicle traffic from loading the line. Parallel trenching deserves equal care because a small route error can keep machinery beside a utility for a long distance. Where possible, rerouting the new line to create separation may be more sensible than excavating through a congested corridor.
Preserve marks throughout the project. Keep spoil, lumber, tarps, parked machinery, and animal traffic away from flags. If marks fade, the ticket expires, the excavation footprint changes, or work pauses long enough to create uncertainty, obtain an update or remark according to the applicable system. Repainting the route from memory is not equivalent to an operator’s remark. Photographs are useful documentation, but current field markings and valid responses remain the working reference.
Before each digging session, use a compact site check:
- Confirm the ticket remains valid and all operator responses are complete.
- Walk the proposed cut and inspect every paint line, flag, and offset.
- Identify private or unresolved services near the day’s work.
- Set mechanical-digging limits and the approved exposure method.
- Keep emergency contacts and the precise site location available.
If equipment contacts, scrapes, bends, pulls, or exposes a facility unexpectedly, stop work and keep people away from the area. Damage can exist without an obvious service interruption; a nicked coating, stretched cable, or disturbed pipe may create a delayed hazard. Contact the facility operator and follow emergency procedures appropriate to the situation. For suspected gas release, electrical contact, fire, or another immediate threat, move to a safe location and call emergency services rather than attempting a repair or operating nearby switches and equipment.
The final mistake is treating a completed locate as permission to dig anywhere with any method. A locate supplies field information within a defined request; it does not transfer control of the excavation to the utility owner. Effective Marking utility lines before digging homestead projects combines a valid ticket, private-line assessment, readable marks, cautious exposure, and a firm stop-work rule whenever site evidence no longer agrees with the locate.
Frequently Asked Questions
Does 811 mark every buried line on a homestead?
No. 811 coordinates participating utility operators, but owner-installed lines beyond a meter or service point may not be included. Private electrical, propane, irrigation, well, septic, and outbuilding services may require a private locator.
Do utility marks show the exact depth of a line?
No. Marks generally indicate an approximate horizontal route, not guaranteed depth. Grading, erosion, repairs, and uneven installation can cause depth to change along the same facility.
What should I do if a utility operator does not respond?
Do not interpret silence as clearance. Follow the missing-response or escalation procedure provided by the state 811 system and wait until the ticket has the responses required for excavation.
Can I dig by hand near marked utilities?
Hand digging may be required or appropriate within a tolerance zone, but it is not automatically safe. Follow local requirements and operator instructions, use controlled techniques, and stop if the facility cannot be verified.
When should utility marks be refreshed?
Request a refresh when marks become unclear, the ticket approaches expiration, the work area changes, or a project delay creates doubt about their accuracy. Use the applicable state 811 procedure rather than recreating marks yourself.
Conclusion
Reliable utility marking begins with a narrowly defined excavation area and ends only after the last cut is complete. Submit the 811 request under the rules for the project’s location, confirm every operator response, and determine which private services fall outside public locating coverage. On the ground, connect the marks to visible meters and equipment, document their condition, and challenge any route that appears incomplete or inconsistent.
Before machinery enters a marked corridor, choose an accepted exposure method and make sure every worker understands the boundaries. Stop when a facility cannot be found, marks deteriorate, the project shifts, or site evidence contradicts the ticket. The next practical step is to outline the exact dig area, inventory public and private services, and contact the local 811 system early enough to resolve uncertainties without forcing the excavation schedule.